

How To Make Decals For Cars
UE4: How to Create Your Offset Decal Material
Category: UE4
March 31, 2016
Do you want to add dirt, stains, leaks, claret splatter, stenciled numbers, posters or graffiti on the wall?

One way is create a new texture variation with added particular baked into the texture itself. So y'all stop up with 1 clean texture without any detail and second texture with added particular, such as a wall stain leak for example.
But, what if you want to take that detail in a dissimilar part of the wall? Top instead of lesser?
What nigh having that stain leak item on totally dissimilar texture in some other department of the level? Well, that is some other texture y'all would take to create.
That is wasteful.
What exercise you practise?
The answer: use decals!
Apply a decal to i function of the wall but not to another. Resize the decal to fit a specific Static Mesh and you can even command which geometry receives projected decals and which does not.
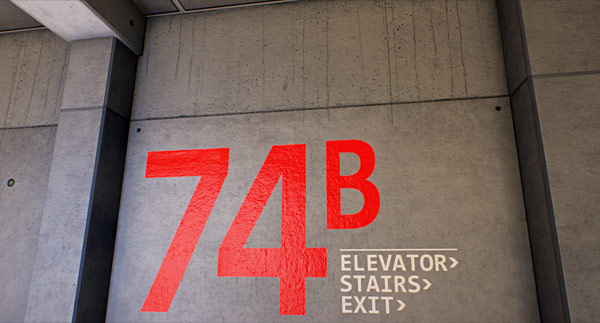
Here is an surround without and with decals:

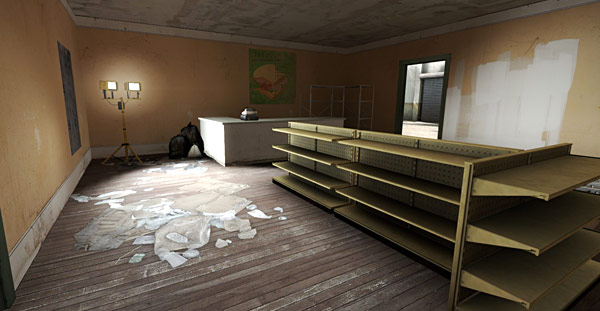
Environment without decals
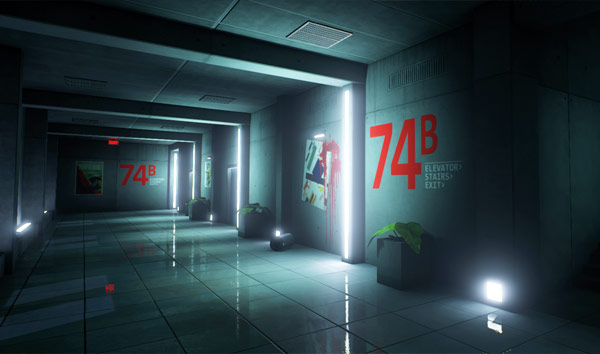
Surroundings with decals
What are decals exactly?
Decals are materials that can be projected onto existing geometry (Static Meshes, BSP brushes or Skeletal Meshes) that are already placed within the level.
Bulk of games out there use decals:
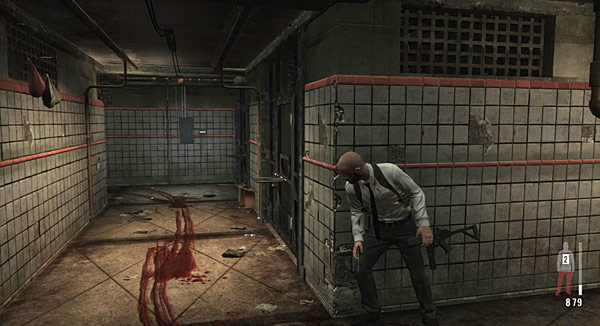
Max Payne 3 - claret decal on the floor
Counter-Strike: Global Offensive - paint decals on the wall, flooring trash decal
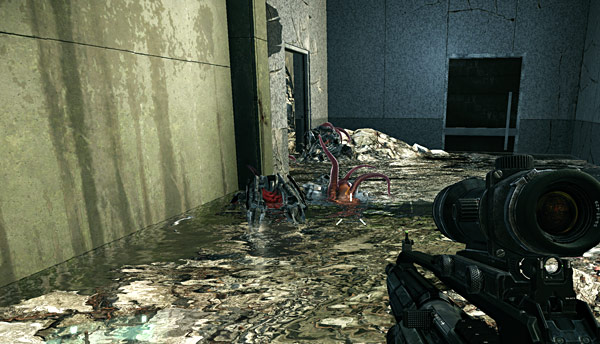
Crysis 2 - wall leaking stain decal
Decals are one of the best ways to add additional detail into a level without having to create a new texture or textile variation.
How exercise y'all create your very starting time decal in UE4?
Before we leap into creating custom decals you must know the basics first. Decals could become very complex, peculiarly when dealing with texture transparencies and opacities.
Then, allow'southward create a unproblematic decal entirely within UE4. This will show yous the essential steps you demand to know.
Step 1: Launch/Create UE4 Project
Launch an existing project or create a new projection.
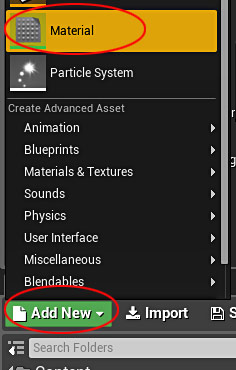
Stride two: Create New Material
Create a new fabric past using the Add New drop downward menu in Content Browser and selecting Cloth:
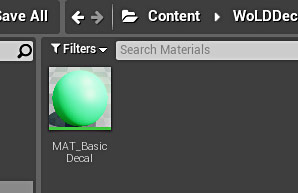
Name the Cloth. I named mine "MAT_BasicDecal":
Step 3: Set Material to Deferred Decal
Double-click on the decal textile to open Material Editor:
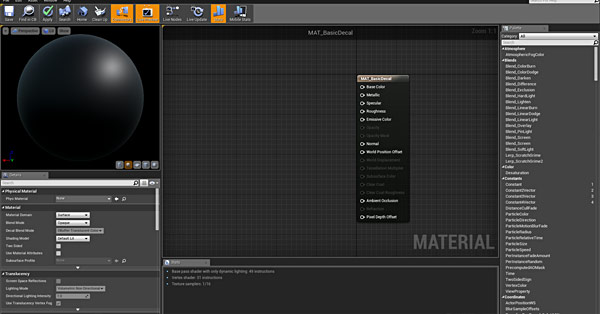
Change Material Domain from Surface to Deferred Decal:

Decal Blend Mode: Translucent
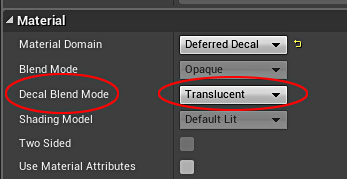
With Translucent alloy mode you lot can assign Diffuse, Metallic, Specular, Roughness, Emissive, Opacity, and Normal backdrop to material decal.
One side note is that Translucent blend way does not piece of work in broiled, static lighting.
See this tutorial on how to make decals work in baked, static lighting.
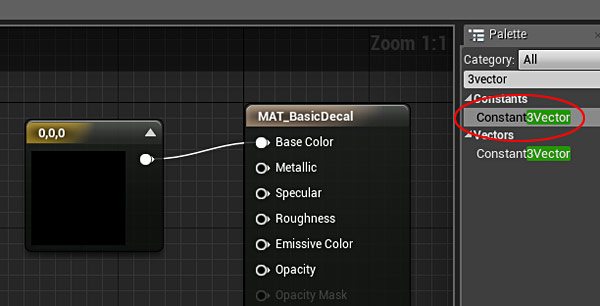
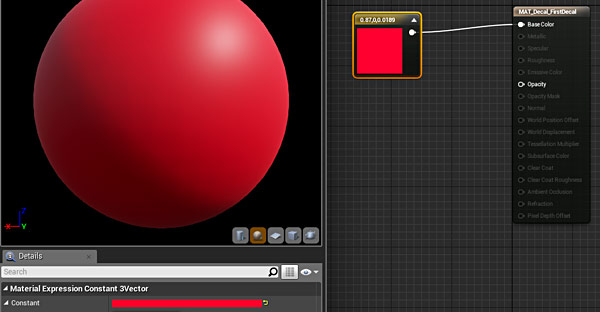
Pace 4: Assign a Base Color Value
Use Constant3Vector node and connect it to Base of operations Color of the Decal:
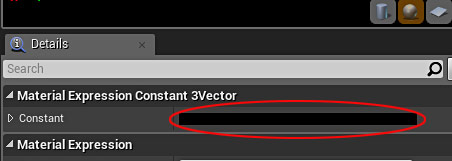
Select Constant3Vector and in Details panel click on Constant blackness bar to open Color Picker:
Choose a color to use so click OK:
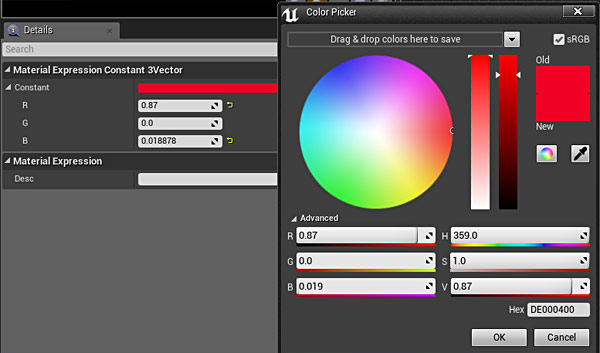
The material decal will now have Base Color:
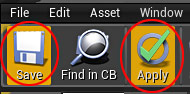
Step 5: Salvage the Cloth
Click Apply and Save in the Material Editor toolbar to relieve the decal:
What's Next?
Next is to utilize the material to your existing geometry (BSP brushes or Static Meshes) in the level.
Recommened Side by side Tutorial: UE4: How to Insert, Apply and Apply Decals Within Your Level
Want More on How to Create Custom Decals?
Want to acquire more nearly creating custom decals for UE4? Such as how to create dirt, stains, blood, and stenciled numbers decals?
See this tutorial serial for detailed info...


Source: https://www.worldofleveldesign.com/categories/ue4/ue4-decals01-your-first-decal.php
Posted by: harperdefortessid.blogspot.com
0 Response to "How To Make Decals For Cars"
Post a Comment